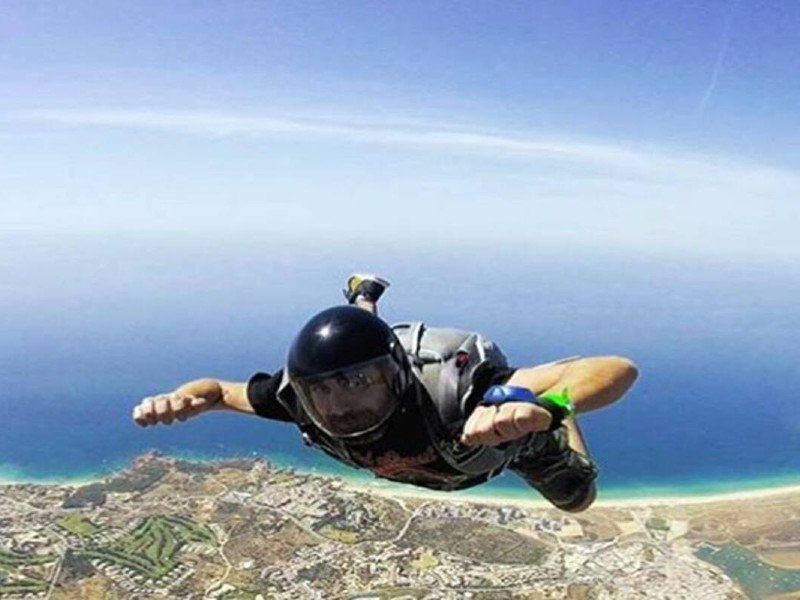
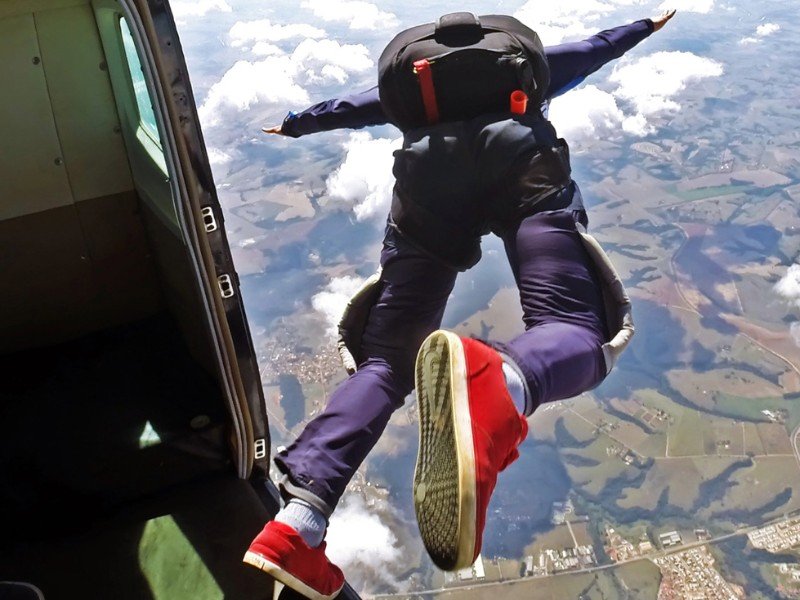
What is AFF skydiving? Known as Accelerated Freefall, AFF is a training method that helps new skydivers quickly take to the skies and experience their first solo skydives. It’s considered the most efficient learning method for new skydivers and the central part of most beginner’s courses.
You may have heard people talk about AFF before as well as talking about A license skydiving. These are not the same thing, but they are connected. On your journey to becoming an accomplished skydiver, you will complete both your AFF and achieve your A license (before progressing to other licenses). The AFF will be your first introduction to skydiving solo.
Let’s explore the difference between AFF and A license skydiving and look at the different AFF stages.
What is the difference between AFF and A License skydiving?

When people talk about becoming a qualified skydiver, they usually refer to achieving a skydiving A license, certified by the USPA. The first significant section will be AFF training when you start a full beginner’s course to reach your A license. AFF training essentially fast tracks you safely from the classroom to your first solo jump to experiencing your first low altitude jump. This AFF training teaches you primary freefall stability and essential freefall movement. The AFF sets you up to complete the skydives and examinations to achieve your A license and officially be a licensed skydiver.
AFF is a vital part of your training to become a licensed skydiver and essentially the main body of learning to prepare you for your final jumps and test. Once you have completed your AFF, you can progress to 25 solo skydives and take the A license examination. Once you achieve your A license, you can go to jump zones, rent skydiving equipment, and jump without an instructor.
Sometimes known as ‘progressive freefall’ or Nova, the Accelerated Freefall training method is considered the fastest way to experience solo freefall. Previous techniques for teaching new skydivers were built around static line jumps. This technique was a very affordable method as trainers could help several students jump at a time and from lower altitudes, but it required more jumps to progress. With AFF, students jump from greater heights and often have the assistants of two dedicated instructors helping them with their first two or three skydivers. With AFF, students spend much more time in freefall and have more tailored training.
AFF skydiving methods

After some time in the classroom, you’ll progress to your first AFF solo skydive. Your first AFF jump should be between 10,000 to 15,000 feet. You will have a dedicated trainer jumping with you (sometimes two trainers per student). During your first one to three jumps, the trainer(s) hold on to you and bring you into position; only releasing you once you deploy your parachute. Parachutes are deployed at around 6,000 feet, which allows for a lot of time in freefall. Taking a solo skydive so soon may seem scary, but it’s even safer than static line/harness skydiving methods.
In AFF, instructors stay with the student all the way, with extra grips on the students’ gear for the instructors to hold. The instructors will even help deploy the parachute should the student get panicked, confused, or seem in any danger. As they freefall, the instructor(s) will be correcting the body positioning of the student. Once the student achieves level flying, they will teach the student flips, rolls, and other movements; the idea is to prove the student can be disorientated and out of position and always regain stability.
The student will be allowed to skydiver freely by the third or fourth jump, with the instructors close but no longer holding on (unless needed). Students must prove their ability to perform the necessary freefall position and parachute deployment before they can progress. Extra jumps will be required if they don’t show enough progression (safety is paramount). It’s worth noting that an automatic activation device (AAD) will also be used. This piece of gear will be programmed to automatically deploy the students’ parachute once they reach a certain altitude (it is a safety device and rarely called upon).
How to learn AFF skydiving
AFF learning is considered the safest and fastest way for new skydivers to learn solo skydiving. Let’s walk you through a typical 8-step AFF course and explore the skills and techniques you will learn:
- Your first solo skydive
- Improve body positioning
- Your first released skydive
- 90 degree turns
- 360 turns
- Advanced stability
- Putting it all together
- Low altitude training
1. Your first solo skydive

Step one is set over two days. The first day is spent in the classroom and your first solo skydive, most likely on day two. You’ll get a lot of detailed training on body positioning, canopy deployment and control, and safety routines in the classroom. You’ll also be introduced to all the equipment and get a strong understanding of what everything is and does.
You should be ready for your first jump on day two and take up to about 12,000 feet (or anywhere between 10,000 and 15,000 feet). You will have one or two instructors jumping by your side when you skydive, holding on to you to adjust and correct your positioning. They will teach you hand signals and to check your altimeter, and help you deploy your parachute safely for the first time.
You will have an earpiece so an instructor can talk to you at all times during the jump. Once you are safe on the ground, you will be debriefed and review video footage to see what you did well and where there is room for improvement.
2. Improve body positioning
The second step will be similar to your first skydive. You will return to the same height with the same instructors and repeat the skydive. This time you will be focussing on any issues, and weaknesses picked up during the first jump and discussed during debriefing. If you are progressing fast, the instructor(s) may let you go for a short period to test your stability and positioning (but only if they feel safe to do so).
After this jump, you will again review the footage and debrief. You will then target the areas you need more work on, and if you have shown enough ability, you will progress to the next stage.
3. Your first released skydive
Again, following along the same lines as the first two skydives, this jump will be with instructors, but the aim is to complete the skydive and freefall without being held. If you progressed quickly, you might have been released briefly on your second skydive. During this third skydive, you need to show that you are stable freefalling without help to advance to the next stage.
4. 90 degree turns

By this stage, the instructors will be confident in your ability to freefall on your own. If you were previously skydiving with two instructors, it might now reduce to one. On your fourth skydive, the instructor will stay near you but won’t hold you. They will then teach you how to turn 90 degrees.
5. 360 turns
Progressing from the 90-degree turn, you will practice and perfect a 360-degree turn on your fifth jump. This turn will become a pivotal move to master and help you gain more control and stability during freefall. You will then review and debrief.
6. Advanced stability
During your sixth jump, you will start to practice a few different moves and gain advanced stability in the air. As well as recapping your 90 and 360 turns, you will also need to perform a front flip. These moves can be a bit disorientating at first, but you will be able to draw on your previous training and the help of the instructor to get comfortable with it.
You will also learn how to ‘track.’ Tracking is a significant move that helps you quickly shift away from other skydivers and create distance when you are too close.
7. Putting it all together
On the seventh jump, you will need to do a solo freefall and show your ability to perform all the moves learned so far confidently. If you aren’t comfortable with any particular maneuvers, you will be able to skydive again and get it right before moving on to the eighth and final stage.
8. Low altitude training
Every jump so far will have been at the height of around 12,000 feet. You should be feeling very stable and in control of your freefall. The eighth jump is less about maneuvers and more a safety lesson in low altitude freefall. You will jump from around 5,000 feet, and freefall will be much shorter. You will need to show you can get stability and deploy your parachute quickly and safely at a low altitude.
Once you have completed these eight stages, you have passed your AFF training. You can now move on and do the final jumps to get your A license.

